I drew the Shifty Shack first, and went on to draw the shingle shed. For purposes of catching you all up in good time, I will give you the readers digest version. . .
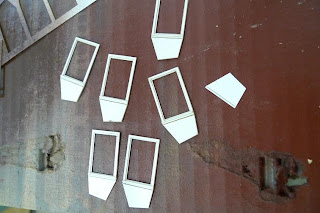
I went on to lay everything out on "frets" which support the paper parts while I paint. I left small uncut sections to keep the parts attached, which also keeps them organized until needed.
I also drew shingles, and laid them out on sheets. In addition to cutting the shingles, I also created masks, so I could use rattle can paints to undercoat the shingles with a variety of colors. These sprayed stripes correspond to the cuts on the shingle sheets, which made the base painting a snap.
Where parts were delicate or hard to handle, such as window sills, I made small handles to hold them until glued. The handles were a big help, the flexibility of the paper allowed the handles to be bent as parts were applied.
I started stacking and painting the various parts on the Shingle Shed next.
Everything was first undercoated with brown rattle can paint to pre-color and seal the paper. That was followed by acrylics, and dry brushing.
I am a big fan of paint and weather as you go, so that the entire thing appears before your eyes. I like to avoid the high stakes game building the entire thing in a pristine state, followed by a session of weathering. Who wants to spend a ton of time building something, only to have the stress of distressing it after the fact. . . not me. Can't always do it this way, but it is nice when you can.
More in a minute!


No comments:
Post a Comment