One thing of note is that I "relieved" the windows in the cab, meaning I tapered the section of the wall near the window so they look near scale thickness. This allows a thicker body wall. I'm going to give that treatment to the body sides. You can see the tapering around the windows and the holes in the transparent version below. I'm waiting to see the test print before I decide how to break it apart.
The other major step forward was developing a WDLR coupler. I've designed it to work in a Kadee draft gear box. I'm making a custom Kadee style box for the Kerr. This way I can use standard Kadee centering springs, and allows for Kadee/WDLR couplers to be interchangeable.
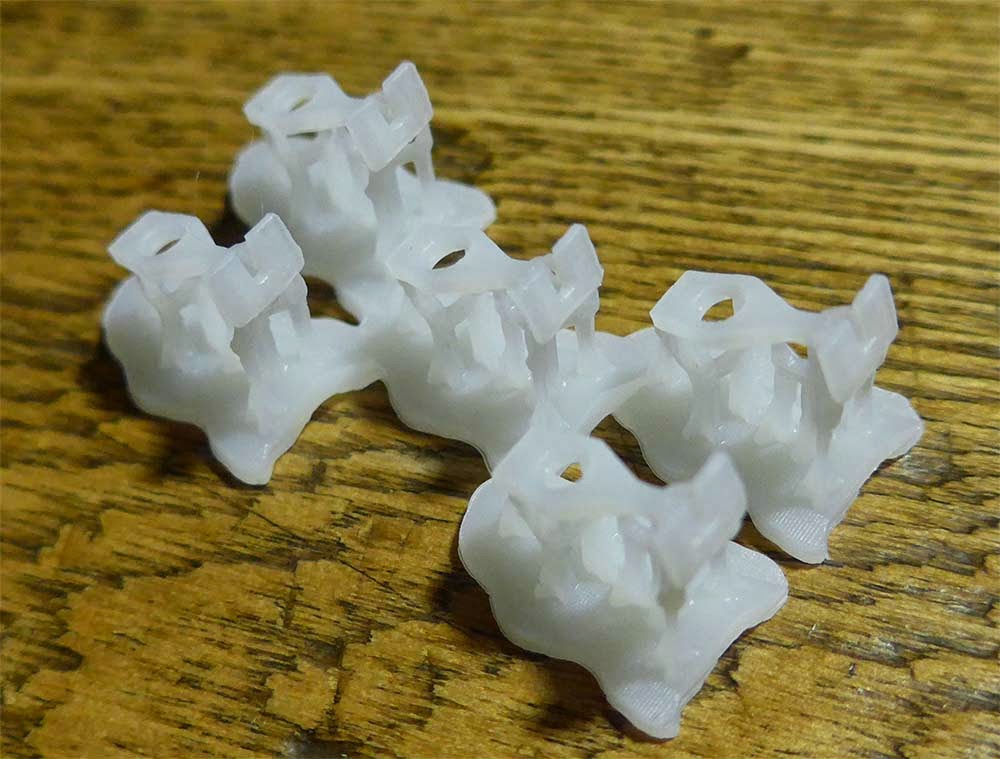
My WDLR coupler head is faithful, save for an additional vertical hole I've added to allow for coupling with a small staple. It's based on drawings and photos. Here is the first test print.
Note the heel of the coupler is extended in this version--I had momentarily thought of an alternate centering scenario for use on a WDLR bogie, but quickly realized that the Kadee spring solution was a good one.


I've just discovered your site and am very impressed by your CAD modelling of the Dick Kerr 4wPE. I'm planning to build a 16mm scale version, mostly of sheet brass (I have access to a spray etching machine) but with 3D printed detail parts. I wonder if you would be prepared to share your work? In particular your representation of the radiator is very convincing and it would be great to be able to use it as a base for my larger version. Many thanks!
ReplyDelete