Thursday, January 31, 2013

Dick Kerr 03

As busy as things are around the farm and work this week, I have still managed a few minutes to choose parts from Northwest Shortline.

I have to admit that I was a bit overwhelmed at first; the online catalog clarified all of my confusion.  The catalog not only gives the dimensions of the various gear boxes, it explains the ins and outs of selecting gear sizes, and gearbox styles.  It is an essential companion to the online store.   [One note, if you land in the online store and press "home", you get to the store home page.  The catalog with the reference material is on the NWSL.com page.  The catalog is the essential reference.]

With this information I was able to make decisions and diagram my drive system:


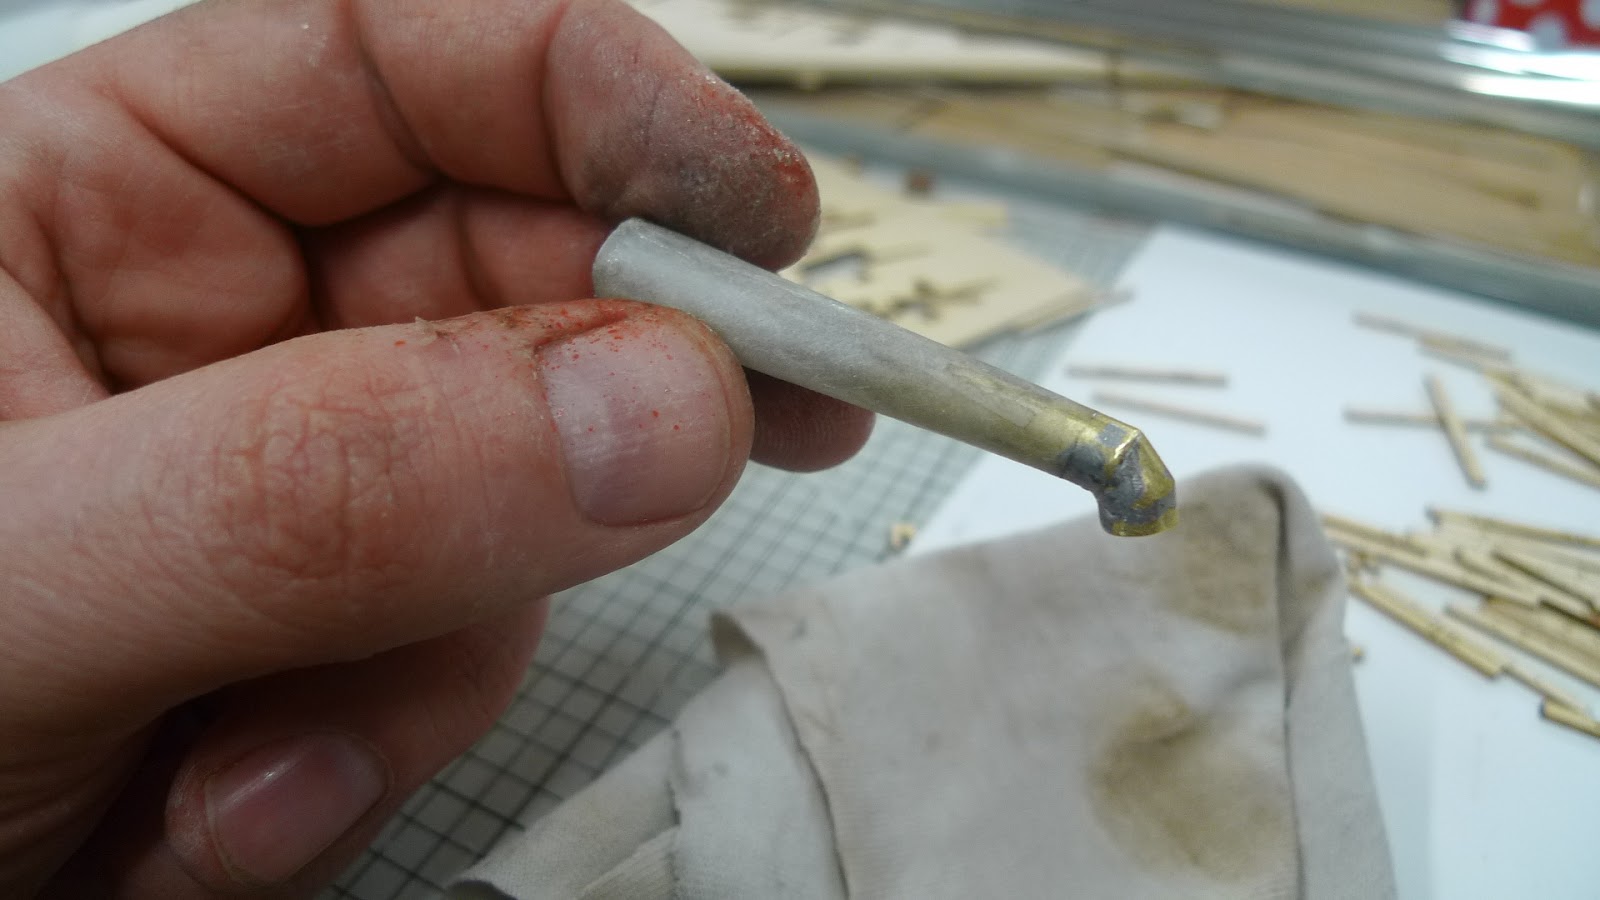
My first draft included a flywheel.  If I were to continue with this design I would tilt the gearbox so as to have a straight drive-line.  Given my inexperience, I contacted NWSL and e-mailed them the above drawing.  After receiving some advice from them, I decided to drop the flywheel, and straighten the drive out.  I like the straight drive-line better, and it gives me more room for weight.  It will also make my fabrication job a lot easier, as everything will be 90 degrees.

Everyone is very busy in today's world, so extra thanks to David Rygmyr at Northwest Shortline for the advice.  Order placed x 2, as I am building two locos. . .

I should also take a minute to thank the folks at Slater's Plastikard for their help as well.  David Smith, who did the drawings of the locomotive that I am working from, was very helpful regarding the wheels.  I've put links to Slater's Plastikard and NWSL in the links section on the side of this page.  Good people, good companies: a big part of what makes this hobby so enjoyable.

Sunday, January 27, 2013

Dick Kerr 02


Managed a little more progress on the little locomotive. . . mainly because I knocked it on the floor while doing some painting on the Virgin Church (hopefully will update that middle of this week).  After surviving the drop, I figured I owed the superstructure some paper sides.  They fit well, however, they revealed that I had the nose slightly out of square in the "up and down" aspect.  I'll have to add a gusset.


After gluing the sides on, I hit it with some surplus paint (not olive), to see it "as one".  I'm pretty pleased, and I'm excited about the next itteration.  I am thinking that I either need to print paper sides, and paint the superstructure to match, or make the sides out of brass.  The paper does not take to riveting well.  Moreover, there are enough closely spaced rivets in unique patterns that neither decals nor the NWSL riveter will really do it.  I think that manually pricking the rivets in brass using a paper pattern may be the way to go.

All in all, a good stack of work.  I am going to get the mechanism designed before cutting another version. . . .writing to NWSL tomorrow, and looking forward to getting the first wheels in the mail.  Once I get the nuts and bolts worked out, I will start perfecting my skins, and turn my attention to the radiator.


Dick Kerr 01

I've always wanted to build a model of a Dick Kerr Petrol electric locomotive.  While I don't necessarily need another project at the moment, I found myself waiting for bits of this and that on all the other open projects (be it paint drying, or parts in the mail).  So, I got off the sidelines and got going.  Working this project along with the passenger car roof also made the most of every batch of body filler I mixed up.

The latest version of the guts, ultimately to be skinned in brass or paper.
I started the project by building a sketch model in paper.  I am not accustomed to 7mm scale / O-14, so I wanted to see how big this little bugger would be.  In making the sketch model, I did not pay much attention to quality. I just got something together so that I could understand the level of detail necessary in the scale, and so that I could start to imagine how I would navigate the design of the model.  Ultimately, I think I will skin an acrylic substructure with brass or paper, the third version of the substructure has real promise (see the photo above).  The video below describes all the goings on so far, and gives a glimpse of each iteration:


This will be one of the locomotives I intend to use for my "Motive Power" certificate from the NMRA achievement program.  I'm hoping that by documenting the engineering process and thought that goes into the design of the scratch build that folks will not look on my use of the laser cutter with disfavor.   I think the level of drawing and engineering that one does when working with technology is a skill in itself, and deserves as much respect as using a file or piece of sand paper.  

Passenger Cars 02


I've managed to get the plug for the 41 foot roof finished.  I'm calling it a plug because I'm going to use it to make a mold for a fiberglass part.  Fiberglass is not customarily used in model railroading, but I don't see why it won't make a great passenger car roof.  The following video gives a little tour of the around the plug so far. . . .


Tonight I am going to paint it, and begin prepping it for mold making.


Sunday, January 20, 2013

Bench Built Track 01


I mentioned yesterday that I was experimenting with a new stub turnout.  I love hand laid track, and like wood ties, but I have not been entirely satisfied with the turnouts on the Virgin Railhead.  I made those turnouts using fast tracks jigs to form the rails.  Instead of using PC board Ties, I simply soldered spacers across the rail.

Two issues, first, the fine throw bar breaks away from the point to easily, and second I am  not entirely pleased with the "flatness" of my ties.  The track works well with a lot of my equipment, but not every piece forward and back, as I know it needs to be.   99% is just not good enough.

I returned to the concept for the paper track I made some time back, and did it this time with wood ties that are more in scale.  My last efforts, both on the railhead and the paper track used over sized ties and it was starting to bug me.  Instead of pre-cut ballast, I ended up making an acrylic template to get things arranged.  I also laser cut my ties in a way that was not dissimilar from Fast Tracks Twist Ties, though mine are simply marked individual ties with spike holes pre-etched.


I also designed a throw bar that pivots at the point rails.  The throw bar itself is hidden under the layout.  Any linkage above the layout can be very fine--that below is incredibly robust.


Overzealous testing, of course, found the limit of strength, and I had to do it again. . . . .  the mark one throw bar is above (using washers), and the thicker, "mark two" throw bar is below.


Should be ready for rail this week.  Ballast is just fine dirt this time.  The servo link seems very robust, and it should also integrate smoothly into a lever / indicator target.    It's shown above with my template.


Here's a shot against the Virgin Railhead turnout I plan on replacing (I'm going to replace all the track).  I've tuned the existing turnout one too many times, and it's loosing its charm.  I am hoping that by bench building track I can achieve something more solid and reliable.  We'll see.

Saturday, January 19, 2013

Water Tower 05 / Passenger Cars 01

It's been a bit since I had any time in the studio.  Part of the hang up is work, the other part is cold weather.  I'm comfortable most of the time, but it gets hard in the extreme cold.  On the bright side, that means I have had some time to work on designs, and do prep work for new projects.  One of those new projects is a stub switch, and I hope to post on that tomorrow. . .  .


The most notable progress today was on the spout for the water tank.  As I have decided to animate the tank, it took some time to think through how I would make the spout.  I ended up settling on a combination of brass and tracing paper.  I soldered most of the spout from brass, but built up the tapered section with CA soaked paper.  It sounds sketchy (forgive the pun), but in actuality it worked really well and went much faster than turning the part on the lathe or fabricating the cone from brass.  It also took on a couple wrinkles that will help it look more like beat up tin, a good thing.  The fin will be mostly hidden when I am done--I just needed something to attach my actuator rod to.  I am going to send it down through the supply pipe.


I also embarked on making a passenger car roof today.  I deliberately chose a prototype that did not look like a Bachmann brand car.  While I appreciate everything that Bachmann has done for ON30, I don't want my railway cars to look like Bachmann redux, and I fear that is what would happen if I modified one of their roofs.  Not to mention, making the duck bill was pretty straight forward once I did a drawing, dividing it into sections.


After stacking the sections, I sanded the "duck bill" to shape, and set it up in a mold box.  Note that the fascia boards are not part of this piece, they will be cut separately when I build the cars:  I had to think through the assembly a bit.

Ultimately the plan is to cast two ends in epoxy and create a middle section of the appropriate length between them.  After that, I will make an open face mold so that I can make thin fiberglass roofs (allowing for detail, clerestory windows, etc.).  It sounds complicated, but if I am efficient with materials it will cost me less than a single Bachmann car, and give me a better more unique result. . . .  .we'll see how it goes.  At a minimum, it will look unique.  The red paint, by the way, is just what I had on hand to seal the roof end and the mold box.


Sunday, January 6, 2013

Water Tower 04, Virgin Church 06

I'm happily back at work, so there is naturally less time for model making at the moment.  That said, I managed some good time on the water tank today.  I managed to paint the tank bands and shingles, as well as moving the siding along on the Virgin Church.


I primed the church siding with rattle can spray paint (chocolate brown), and then proceeded to streak white, Payne's gray, and umber across them, allowing the clapboards to dry between streaks.  I thinned the paint a bit so it did not cover evenly, and did not fill the nail hole and board joint details.


The tank bands got a hit of Rustoleum rust colored primer (If it would not kill me, I would drink that stuff--it sticks well and has great tooth).  I then blotted the bands randomly with sienna and umber.  Looks silly now, but the effect on the tank should be good.  I'll let them rest, then I will hit them with a close match to the tank itself, so it appears that the paint has come off rusty bands (well, at least I hope it appears that way).


The shingles got a mix of all the above colors, including the white, though I did not prime them  I liked the color of the chipboard I used.  While all that was drying, I scanned the tank, and started to lay out the base. By drawing on top of a scan of the tank body I could ensure a perfect fit. I am really (amazingly) spot on to the dimensions of the prototype tank I am following, so I continued to follow the plans of the original.  


I developed cut files for the various parts, though in the end, I decided to only cut certain parts.  Hand cutting in this case saved a lot of time, as many of the members would come out of 1/4" stock, I had to manipulate the cut order and number of passes by the laser to minimize burn out on the few parts I decided to cut, as the burn out would deform the parts.  I hit the ends of the exposed timbers with the "timber terminator", adding to the char.  The drawings were also helpful for laying out the hand cut parts.  


In the end, It was worth doing the notched parts, but I set up a jig to do the legs.  I was also very pleased with the joists.  That is a trick I will do again.  The little bits connecting the joists will be hidden by the larger timbers.  The deck, coming out of 1/16 material was a snap. 


As I got back to doing more on the church, I did not finish cutting the wood parts for the tank frame, that will have to wait for next weekend.  Probably good, since I want to do some experiments with the wood stain.  


It only seems like every scrap of space is covered by bits of model. . . . OK, every scrap of space is in fact covered by bits of models.

MMR 01

I've decided to take a crack at the National Model Railroad Association Achievement Program.  It's something that I've thought about quite a lot, and to be honest it's something I have had mixed feelings about.  I don't really need a title to enjoy what I do, but I do love a challenge.  When I looked at the AP requirements and scoring sheets I immediately began to associate them with projects both built and imagined.

I do have some concern that the achievement program promotes a vision of the hobby in which prototype fidelity and detail is preferred over artful effect.  I'm more interested in the latter.  That said, there is no harm in trying something different--and, I'm certain that I will experience no ill effects.

A friend warned me that using technology like a laser might disqualify my models from being considered as scratch built, and that they would be viewed as "kits".  I think that would be absurd, especially when the time, care and effort to design the intricate work on the models is considered.  Developing one of a kind laser cut models is certainly not labor saving.

If that is the case (and I have no way of knowing if it will be until I submit my work), it is probably even more important for me to venture forth, if for no other reason than to expand the vision of the hobby just a bit.  Photoshop, CAD, laser cutters and prototyping machines are tools just like an airbrush or a lathe.  I think the definition of a kit should have more to do with who put forth the effort than what tool one chose to use.  This is doubly important when the newer modelers in the hobby take things like Photoshop and 3d modelling for granted.

As long as doing the work is fun, I see no reason that a loose wheel like me should not try to roll into the roundhouse.  I've created a tag in this blog, and I'll post periodic updates on my progress.  Can't promise that they will be frequent  as there is a lot of other work to do in the day. . . but piece by piece I should be able to plug away at the MMR.

The thing that ultimately pushed me over the line in deciding to pursue the program was recognizing how many people I respected in the hobby were already (or on their way to being) Master Model Railroaders.  Bruce Wilson, Jim Harper, Jim Gore, to name just a few of many.  All people who are talented, kind, and generous with their time and thoughts.  They all grow their own skills while giving back to the hobby, and I would be very honored to be in their company.

Tuesday, January 1, 2013

Water Tower 03

Much of today was spent soldering some Ngineering lights, that and priming the cut parts of the Virgin Church prior to assembly.  Lest the last day of holiday time be entirely lost to repetitive work, I did manage to make some forward progress on the Water Tank project.


After a couple more experiments with the water color, I ended up stripping the laminated form down and prepping it to receive a printed wrapper.  The water color was not coming out badly, but I wanted more.  That, and I wanted to continue to push the paper experiments.


After flirting with the idea of making a weathered red board texture, I ended up modifying a Clever Models texture that I purchased by over painting white boards with boxcar red.  With that texture prepared, I loaded  my AutoCad line work for the tapered tank wrapper into Photoshop and used the transform command to taper the siding texture, lining the printed boards up with the lines that the laser would etch.  The taper is almost too subtle to photograph well, but I think it will be really noticeable in photographs.


The wrapper pattern is exactly half the tank.  After I filled out the pattern, I cropped the printing to correspond to my registration marks (see the last "Video Extra" on laser registration).  The wrapper was printed on acid free paper.  The print was then laminated onto black 4-ply railroad board.  From there, it was into the cutter.  The board divisions and guides for the tank bands were etched, and the conical form was cut.


In the photo above you can see the way the etched lines on the wrapper reveal the black railroad board behind the paper.  Discovering the black board was a red letter occasion.  I also took the opportunity to cut the tank bands from black railroad board.  These were sprayed with rust colored primer, in preparation for more detailed painting.  They are held to the carrier card by a few uncut tabs that I will break after I finish detailing.  This keeps them in order, since each has a particular place on the tank.


I'm excited to go back into the printing with acrylics.  I am going to add some salt stains, and also darken the bottoms of the boards.  I wish I had added a shadow below the roof while I was in Photoshop, but, I can also do that with the acrylics.  I am going to hold the tank bands back until I get the painting done.


Tomorrow is back to work, so, progress will once again slow to pre-holiday levels.  It's been a nice break, and it's been fun getting these models moved along.