Monday, July 29, 2013

MRR Contest Build 05, Passenger Cars 05


I'm in the midst of building three structures for the shelf layout build.  At this point I have not "built" much of anything, save for the cement silo.  I put "built" in quotes because I have spent time in Photoshop doing some virtual construction.


I've purchased several textures from Scale Scenes, Clever, and even taken a few items from photos.  These are laid over a schematic cut file that I prepared based on the "site dimensions".  Those cut lines show in the images included here, however, I don't print them--the identifying text won't print either.  The black lines in the upper left corner are my registration marks for the laser.  I've also done some virtual airbrushing to break up the monotony of the printed texture.  It does not look like much, but it helps.  Shadows and reflections give things dimension in advance of weathering with other means.


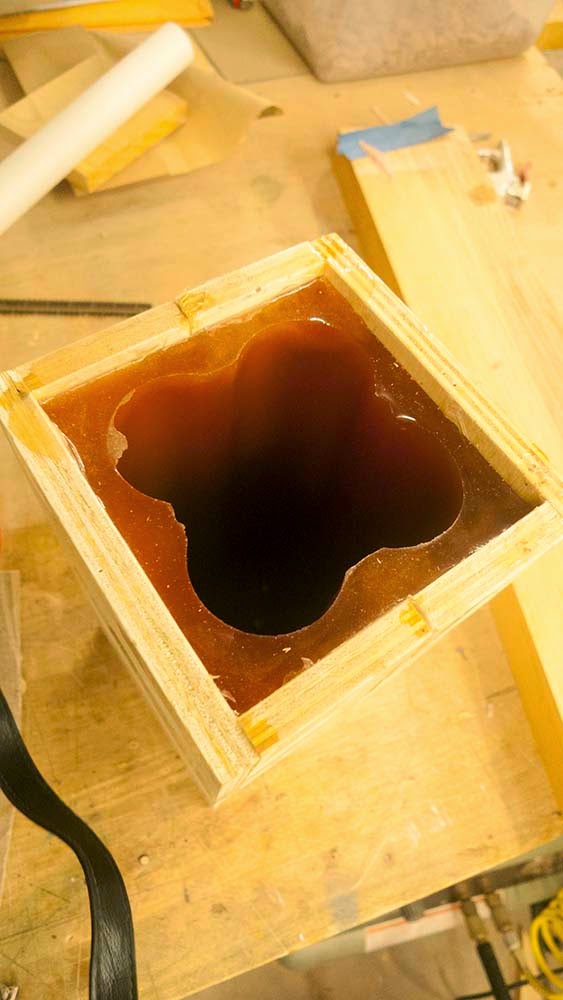
I've also removed the silo from the mold, and the mold came out fantastically well.  I'm excited to make at least a couple structures for this and future layouts.  If I'm lucky, someone will want to trade, as the mold will clearly have some life!  At this point I am about 19 hours into the build, including mold making and computer work.


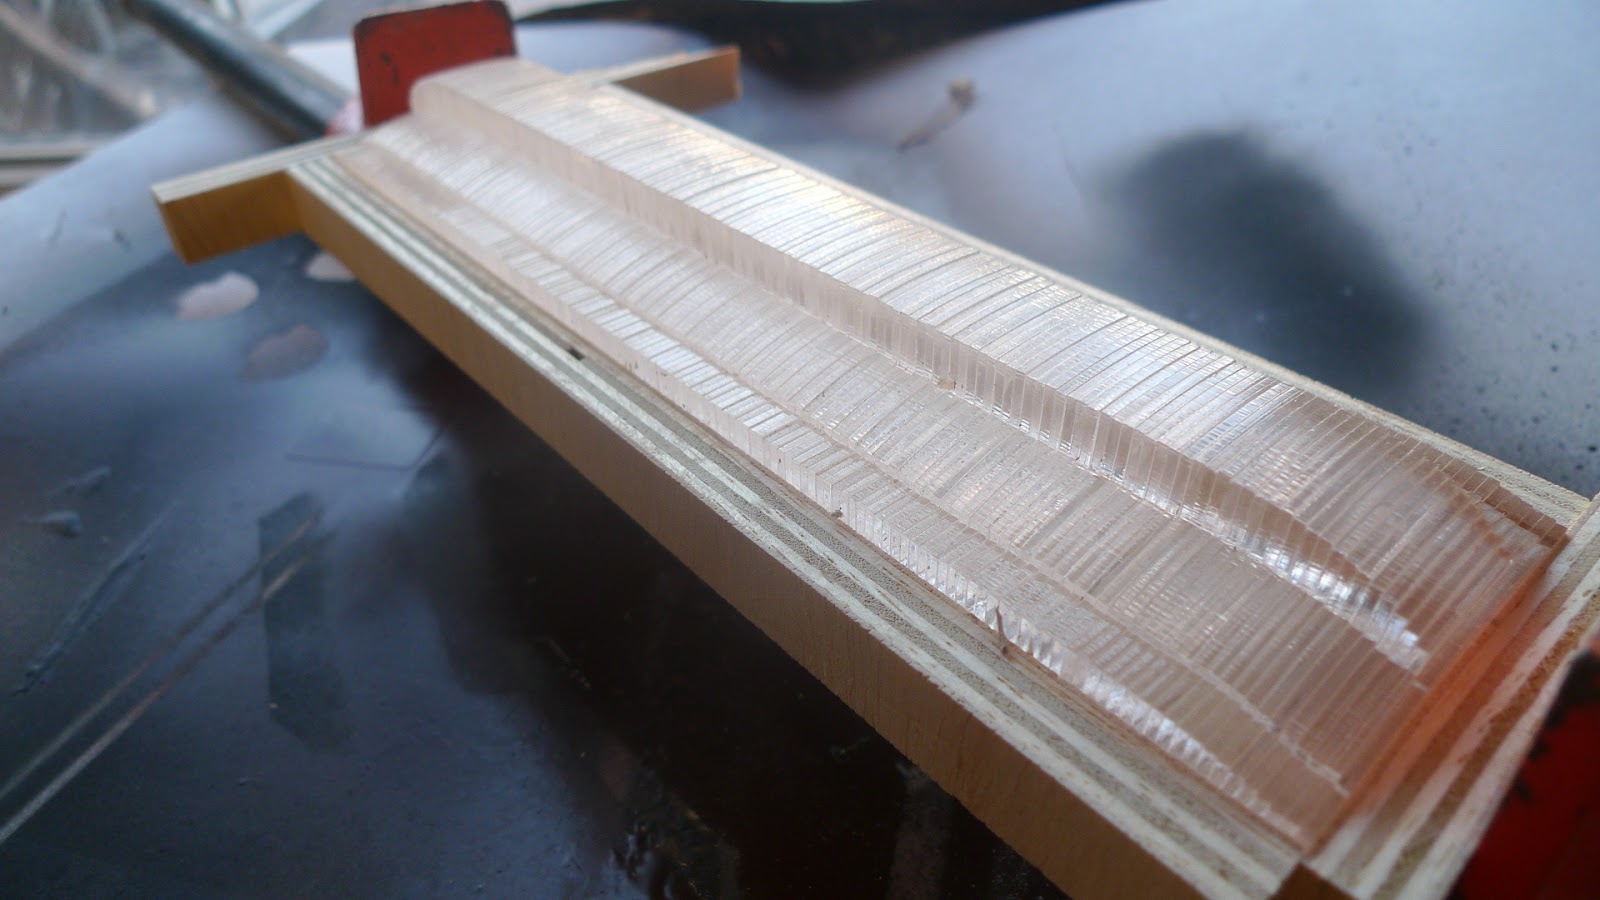
The passenger car roof mold came out well too.  I'm excited to start making a few of those, but that will have to wait. . . . for now.


Sunday, July 28, 2013

MRR Contest Build 04

The deadline associated with the contest is a real advantage for me.  In less than 3 weeks I'm going to have to make a video of a completed shelf layout.  For me that means having some rolling stock, structures and scenery that all looks "of a kind", meaning that the colors and level of finish work together.  

Here are my first three shots at weathering N scale freight cars, I spent no more than five minutes on each, and used three colors, linen, raw sienna, and jet black:


When working in O scale, and on larger items, I tend to take a very long view.  Working in such a short time frame is helping me to see that one can work fast, and work well, and get good results.  While I don't see myself changing course in O scale, I am beginning to appreciate how the a layout might be more than a sum of its parts.

MRR Contest Build 03, Passenger Cars 04

Things have slowed down a bit on the build, not from lack of effort, but because I have a few structures to design.  The industries on my contest layout include a portland cement distributor, a plywood distributor, and a chemical company.  I'm trying to create structures that have a real sense of "size" as they relate to the trains.  

I've spent a couple hours on the computer designing the various buildings, and two hours in the shop getting the silo for the portland cement company prepared for casting.  I am making a mold because I'd like to build at least a couple of each structure.  If I end up shipping the shelf layout I'll have some copies for a layout of my own.  I can also share the spares with other modelers.  Who knows, someone might want an N scale cement silo.  Given the amount of work to get the pipes blended, a one off seemed inappropriate.

Here's the latest video:


Wednesday, July 24, 2013

MRR Contest Build 02

I'm about twelve hours into the build.  It seems strange to measure time this way, except for the fact that time is so tight to begin with.  I'm guessing after I clean up my mess it's going to be twelve and a half hours!  The deadline is really forcing me to focus on finish, and not letting the perfect be the enemy of the very good.

I spent the last hour and a half painting the track.  It's ballasted with good old dirt.  I went ahead and did the ballast before the paint, and then airbrushed the entire assembly with a gray brown mix of umber, cream and Payne's gray.  After that I picked out the rail with raw sienna and oxide red.  Finally, I dry brushed with umber and linen.  All of these paints are Liquitex soft body acrylics.  I find the pigment goes through the airbrush fine providing you have higher than normal pressure.

The key advantage of an airbrush is control over how heavily the paint goes on and where it goes.  If I just wanted to apply a layer of paint I might do it with a rattle can.  Using an airbrush affords one much finer modulations.  Just my 2 cents.  Here's the update:


Stay tuned!

Sunday, July 21, 2013

MRR Contest Build 01

Just when I thought I had a good head of steam I was sidelined by work and chores around the farm.  I have found some time to move the Virgin Church forward, but I just have not had the consistent time that I had in the winter.  Challenges we all face.

My silence has been broken by the Model Rail Radio Shelf Layout Design Contest.  Sometime back I committed to building one of the winners.  A recent extension to the deadline made me think that it just might be possible.  Add to that a challenge and a deadline, and I'm off on a tangent.  With luck, it will be done by the deadline, making it a brief tangent!  3 weeks to go.   Here's the first video:


Sunday, March 17, 2013

Virgin Church 11 / Krueger Electric 04 / Saw Stop


Lately I've been working weekends, which has cut into model making time.  The time change also seems to have really messed with my alertness, and has made morning model sessions before work a no go.  Even so, I managed a couple hours in the shop and made some progress on the Church and on Krueger Electric.  I made up the corner boards on the church.  I glued them up rather than mill them, mainly because I am a walking zombie from lack of sleep, and I did not dare go near anything with a motor, much less something amounting to several horsepower.  

Earlier in the work week I managed to trip the Saw Stop--not with a finger, but with an aluminum fence.  That I got the fence so close only reinforced the fact that I needed to step away from the tools, slow down, and take my time.  It's also a good reminder that knowing your tools and being confident with them does not make up for fatigue.


Blowing a blade and cartridge is an expensive mistake.  It's still reassuring to know that the system works.  I've been using table saws regularly for 25 years.  The only serious issue I ever had was a kick back issue when I first started working in a model shop--one incident at age 17 was enough to open my eyes to the real value of safety.  I've been using the saw stop for many years, and this is only the second accidental trip I had.  A small price to pay for the added safety.  

Returning to models . . . .

While I was waiting for the corner board pieces to dry on the Church, I turned my attention to the roof of Krueger Electric. Given that I had three to do, I turned to one of my favorite materials, aluminum tape.


Once it's painted this self adhesive tape can do duty as metal plating (it takes rivet embossing well), passenger car roofing, or even tar paper.  It all depends on how it's cut and painted.  


I spray painted the tape black, and streaked white paint on it.  Alone it did not look like much, but layered and dusted with gray chalk it made a credible roof that matched well with the paper brick.  If I have time tonight I'm going to do the handrails.


As always, looking forward to getting back to the models.  With luck, I'll get work sorted and back under control.  

Sunday, March 3, 2013

Passenger Cars 03

Last I posted on the Passenger Cars, I had a plug of the roof pretty well done. . . . turns out that in my frenzy of work I managed to make it many feet too short, and my already short 41' car was shorter than it should have been.  That's what I get for rushing.  Good thing that plug number two went much faster, as most things do the second time around.


I returned to the drawing board, and re-cut some new sections from my original cad file.  Rather than jigging them on a spline as before I jigged them in a wooden tray, which worked much better.  It was much straighter and stronger after gluing and required less Bondo to smooth.


Here is the piece after the Bondo, some sanding, and some paint.  I am still debating how I will make the finished product, whether it will be a casting or a "lay up": I'll need a mold either way.  Sorry to say that there is not much else to post this week as I have been travelling for work, and we are in the throws of lambing.  Even with the challenges I'm hoping to keep the Christmas time momentum rolling.  Still a few more hours tonight to do something on the Church. . . .